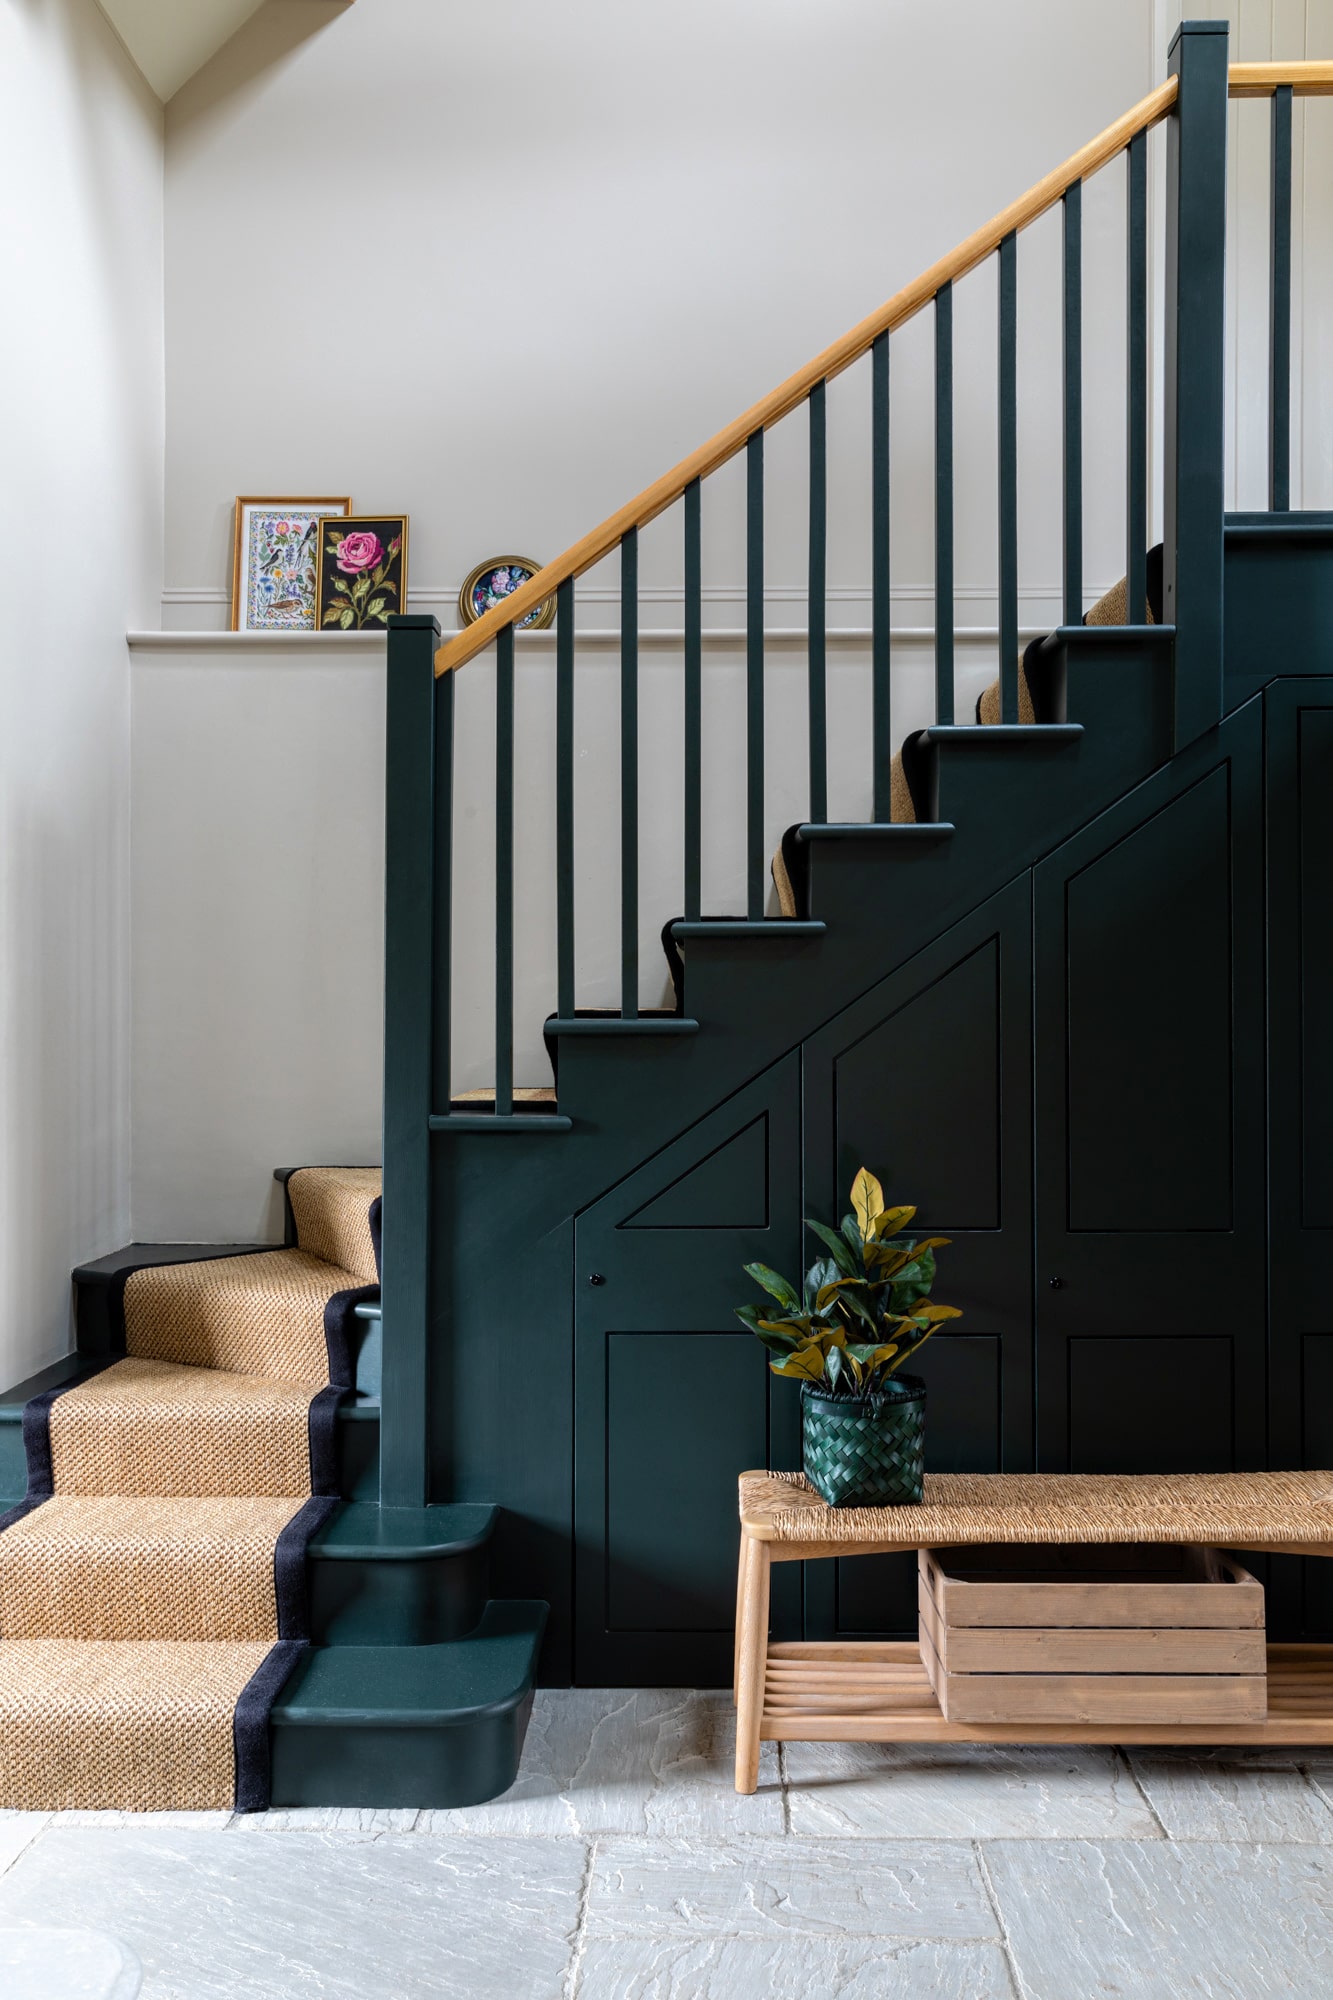

How to prepare any interior for a photo shoot
Preparation for a photo shoot is a very important and labour-intensive process. It doesn’t seem very obvious as there are no people in the frame and we don’t need to do their makeup and to think about the style of their outfits. However, your house (or flat) also needs its beauty makeover.
Beautiful locations and photographs don’t just happen. When you are looking at a photograph of a room in a magazine, you see a perfect image of someone’s home and you don’t think about all the amount of work that has been done by stylists and other team members behind the scenes. We’ll not talk about styling today. It all starts with cleaning the space and here are my basic tips on that. I promise not to go all Marie Kondo on you:).


Start with decluttering
One of the most important things is to get rid of all the unnecessary clutter. On a shoot day, it will give a designer (or a stylist) a clean canvas for doing her/his magic. The main idea of interior photo shoots in most cases is to show the space the way a designer intended it to be. Any toys, newspapers and magazines, empty boxes, random pens, dogs’ beds, shoes and etc should be removed. Some things that all of us have around the house don’t add to photographs and need to be removed. In the kitchen, I would recommend hiding dish soaps, cleaning products, sponges, cloths and paper towels, clear all worktops and move bins out of sight. But don’t get too carried away there, kettles, toasters and pretty biscuit jars usually look nice in photos.
A small tip. After hiding away everything that doesn’t add to the frame, take a photo with your phone. Surprised? You most likely will see more unnecessary clutter that your eyes are used to in real life and that is noticeable in photos. Also, take into account that the camera will be shooting much lower than your eye level. Meaning that most things stuffed under the furniture will be visible.


Remove personal things
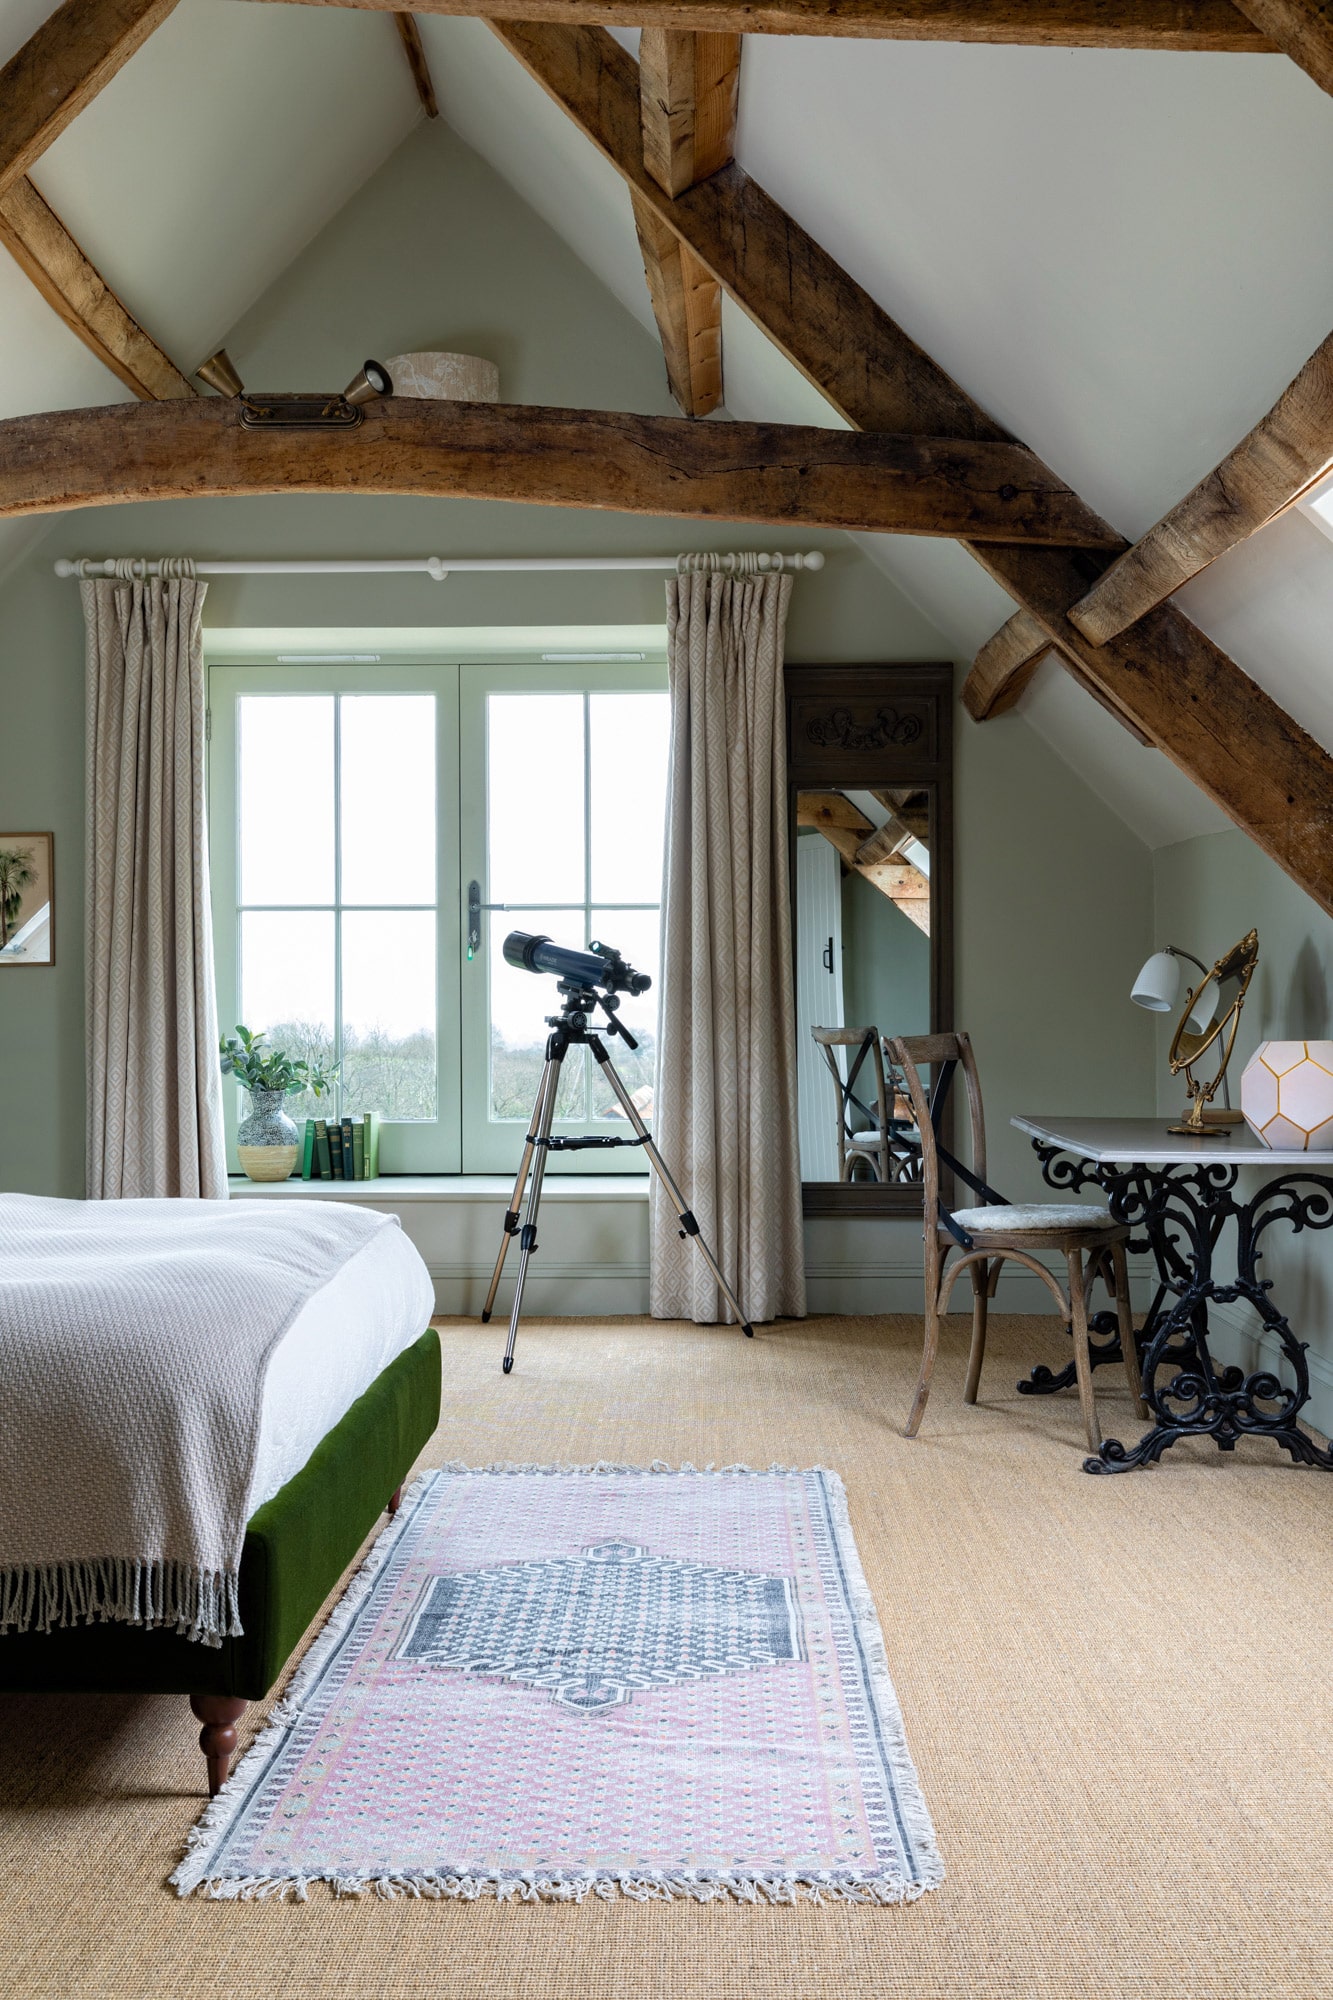
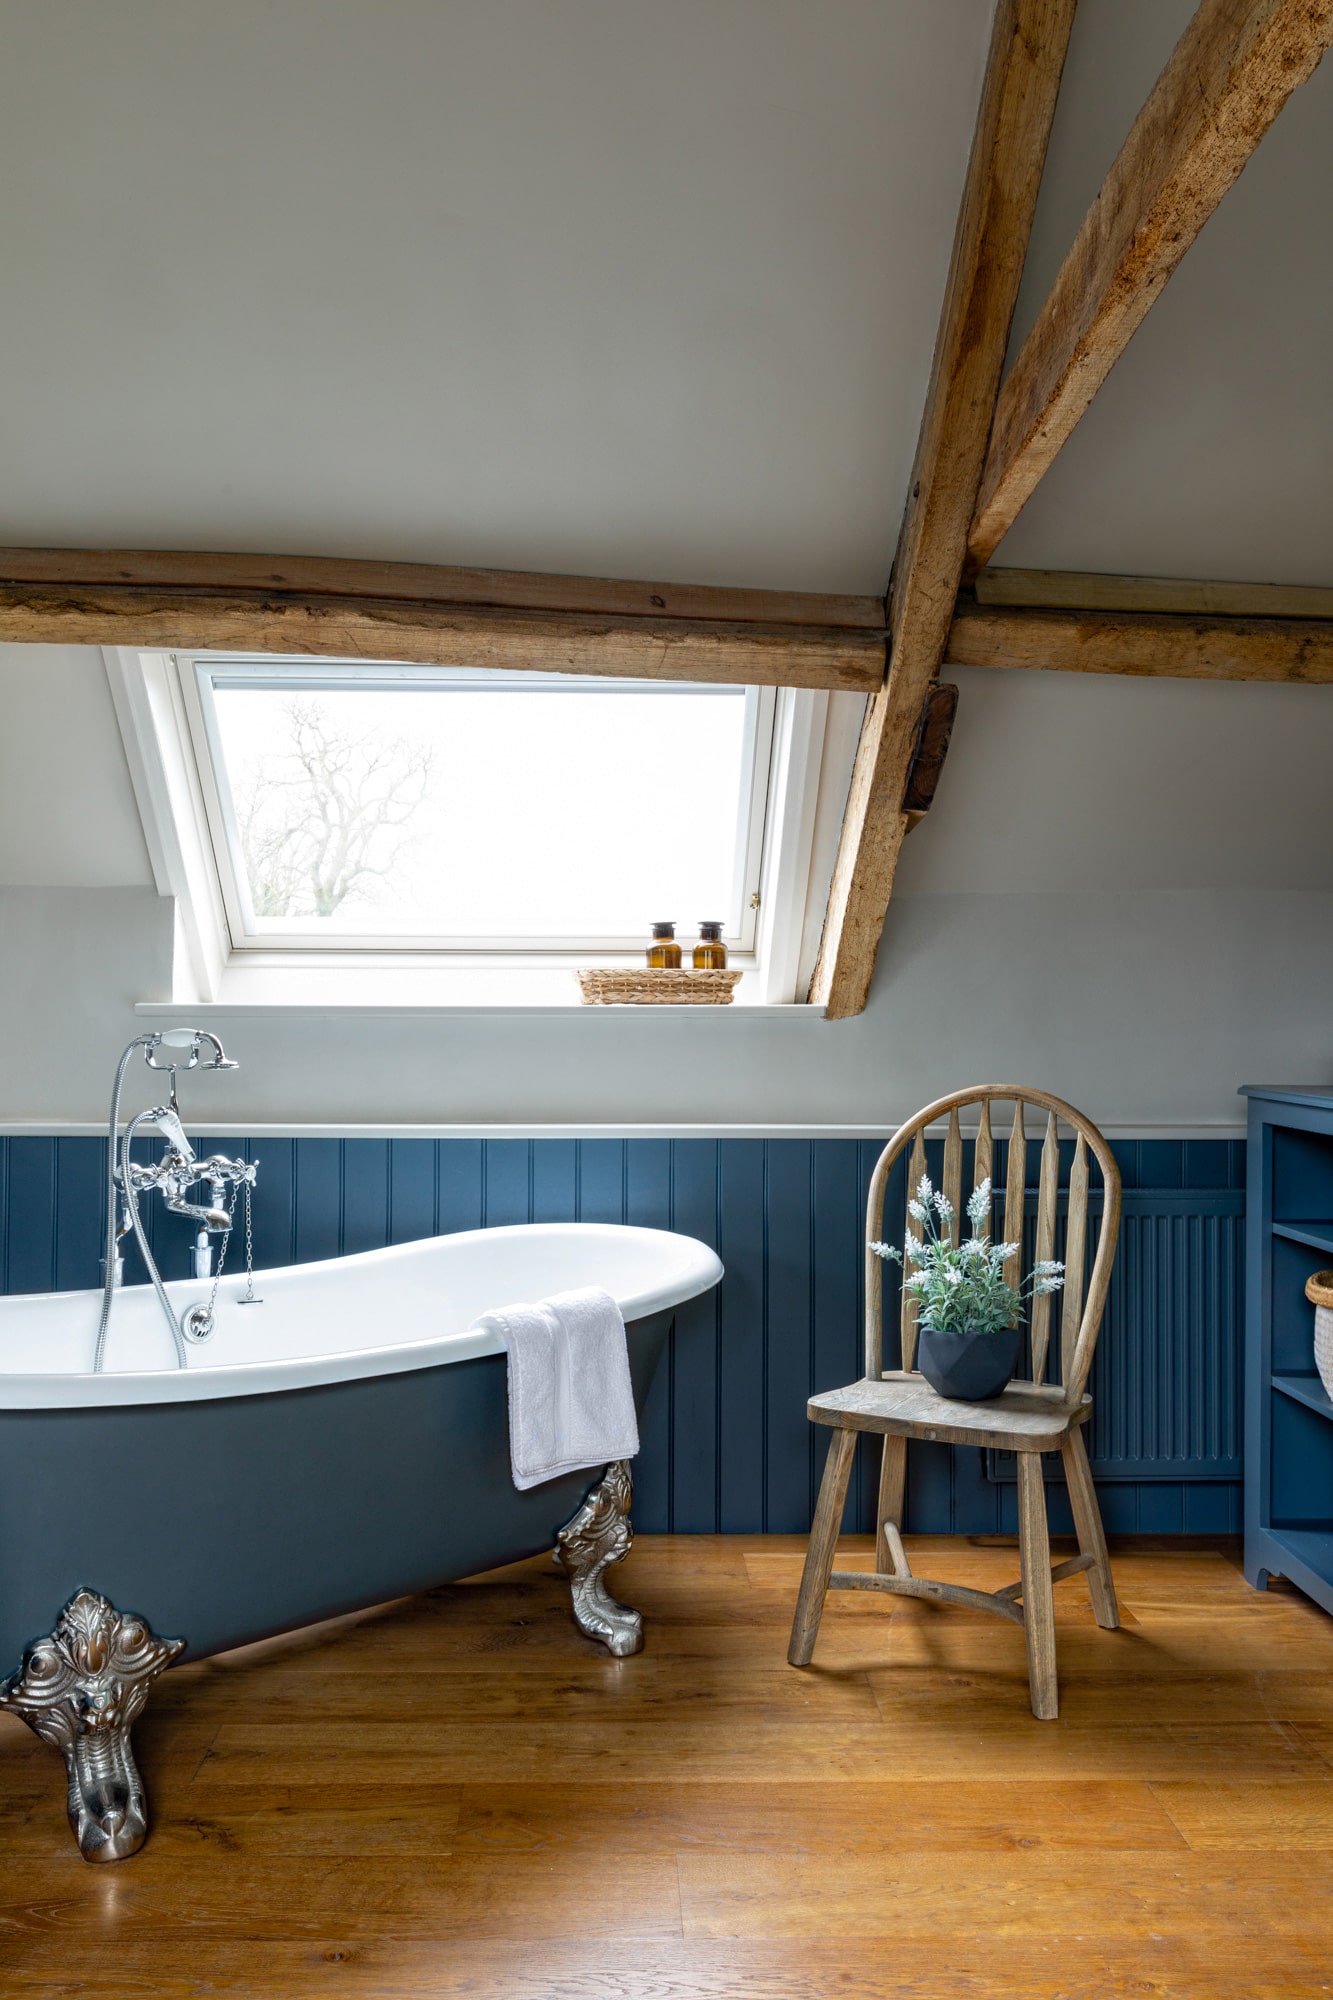
All family framed photos, souvenirs brought from trips, magnets on the fridge, hanging diplomas and Oscar statuettes have to go. The stylist (or designer) will remove all personal photos anyway on the shoot day but it’s easier and safer for the homeowners to do it themselves.
Clean all the rooms that will be photographed
A dirty house is not a house that’s ready for a photo shoot. Yes, it seems obvious for most of us but I decided to write this article for a reason. I’ve been in absolutely ridiculous situations cleaning someone’s homes together with apologising designers and their assistants. It wasn’t their fault at all though. And more often I try to photoshop out 3 layers of dust especially visible on dark surfaces and remove spider nets that we overlooked during the shoot for some reason. Photographers are not magicians and most of the time it doesn’t look right.
So, cleaning basics:
- All gloss and mirrored surfaces need to be spotless without any smudges, dust or splashes.
- A dirty floor can show up in photographs.
- Make sure there is no dust on any surfaces. The most neglected spots are near fireplaces, lampshades and picture frames.
- Bathrooms aren’t always perfect. But these are pivotal to be extremely clean in photographs. Please, make sure the showers are empty and glass doors are spotless.
- Dirty windows can change the light that enters the room. The glare on a dirty window can have a huge impact on images. I know it’s too much to ask but it would be very much appreciated to have clean windows on the shoot day.
‘I love ironing bed sheets!’ said no one, ever'
Unfortunately, modern cameras can “see” all creases and wrinkles and most of the time it’s impossible to fix them in post-production.
If you have a chance to spend the day out during the shoot - please do that, it will speed up the process. If not - no worries.
These are my tips and I hope it’ll help some of you to be more prepared for the future shoots.
Selected Works


Artwork Photography for Emma GurnerProject type

Modern Duplex HavenProject type


WeWork Office SpaceProject type
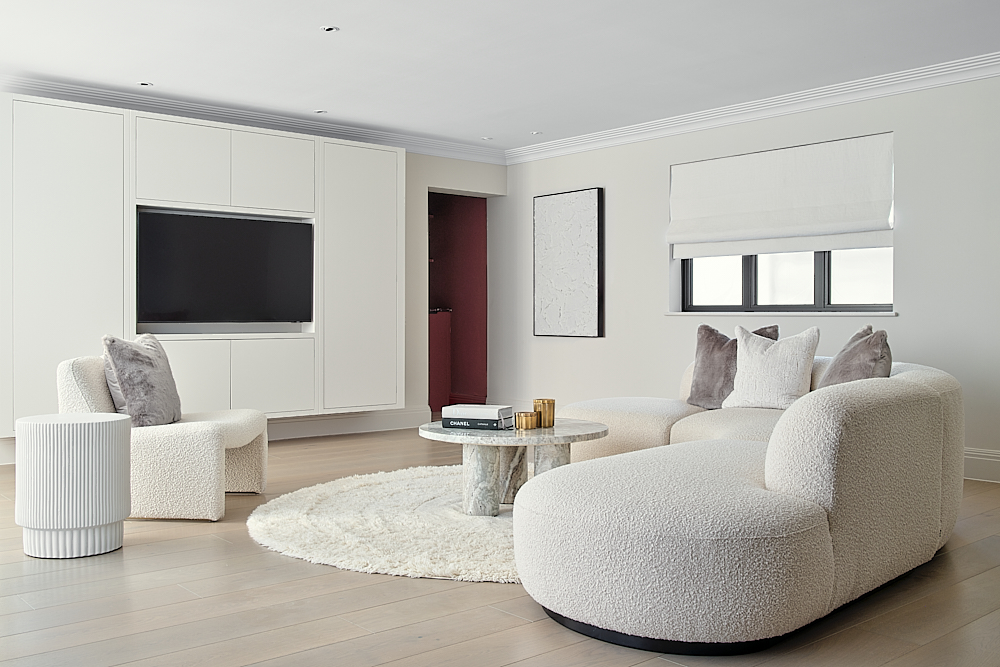

Serenity on Forest RidgeProject type
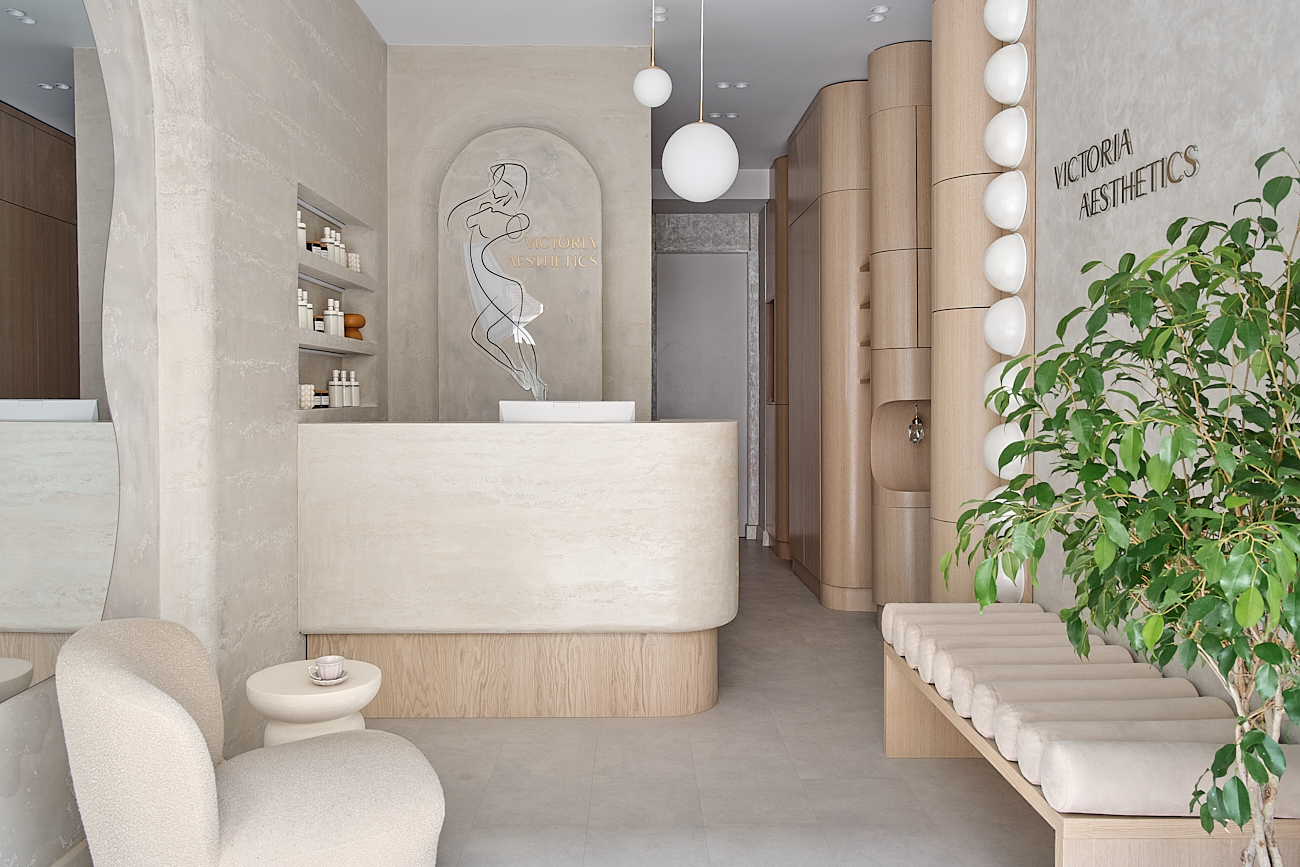

Aesthetics Clinic in LondonCommercial Project
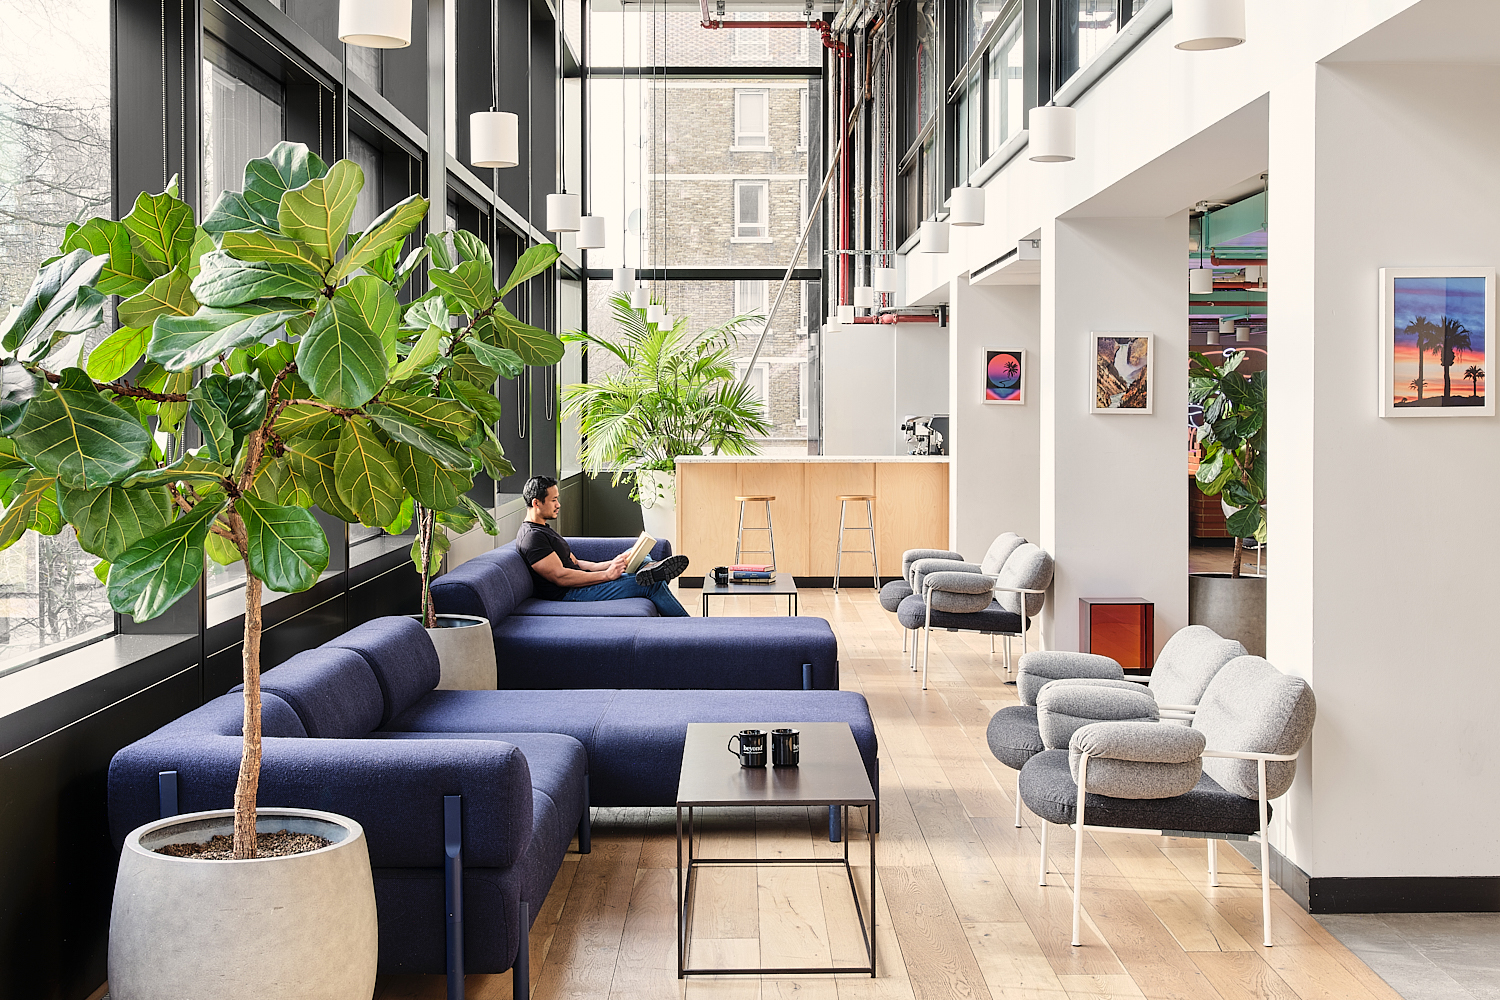

Beyond, coworking space in the Bower TowerProject type
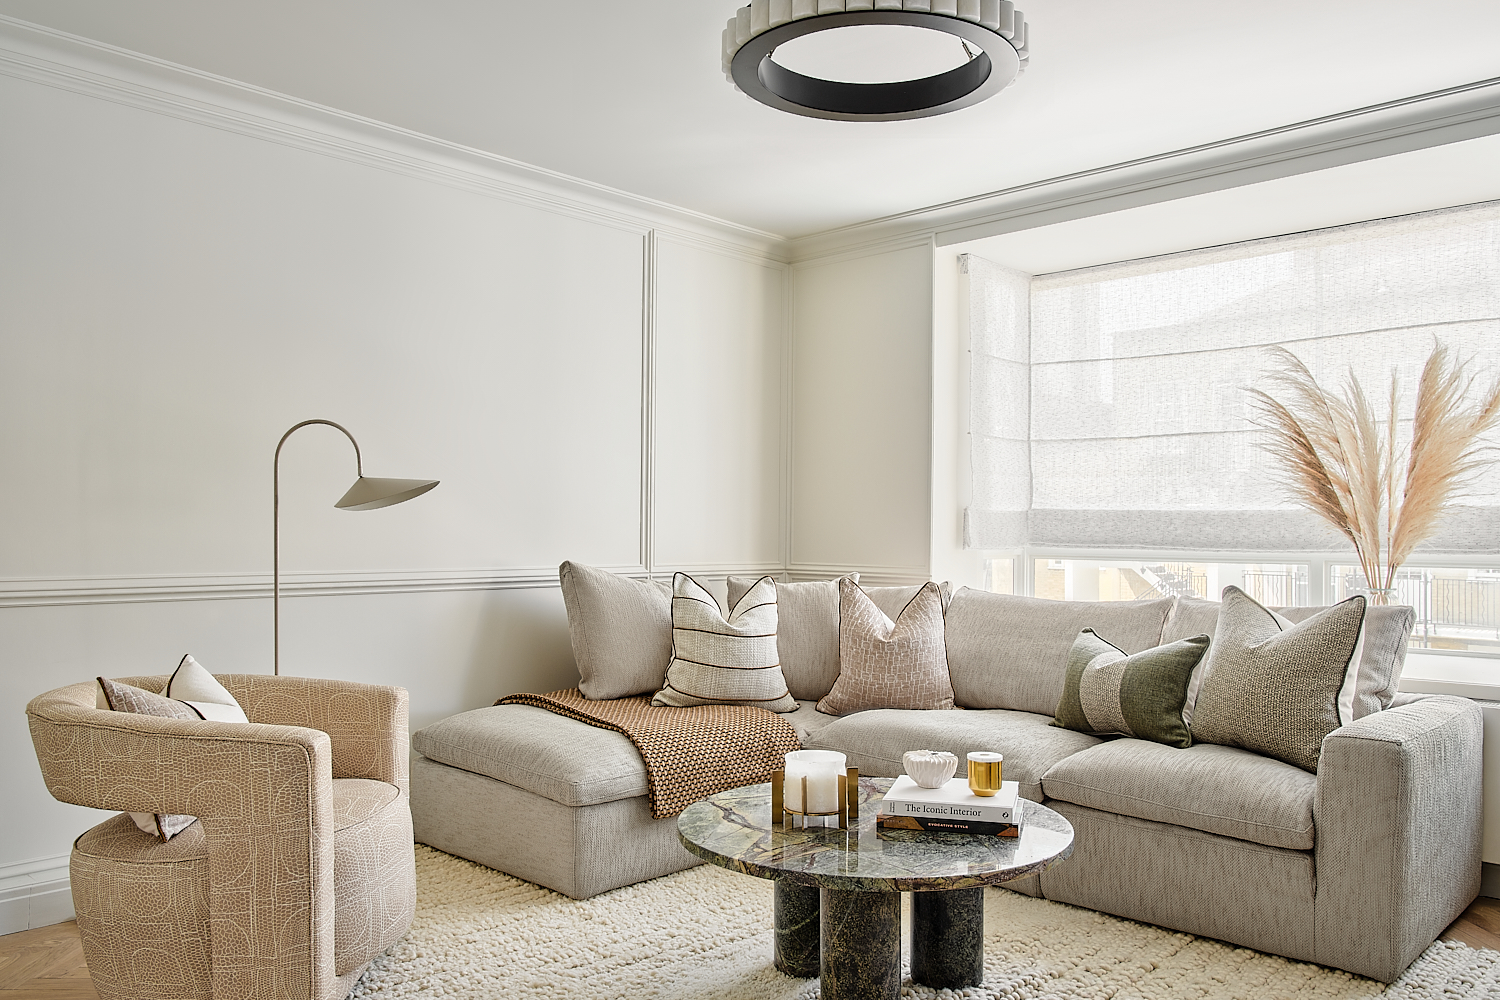

Belgravia ApartmentInterior Design
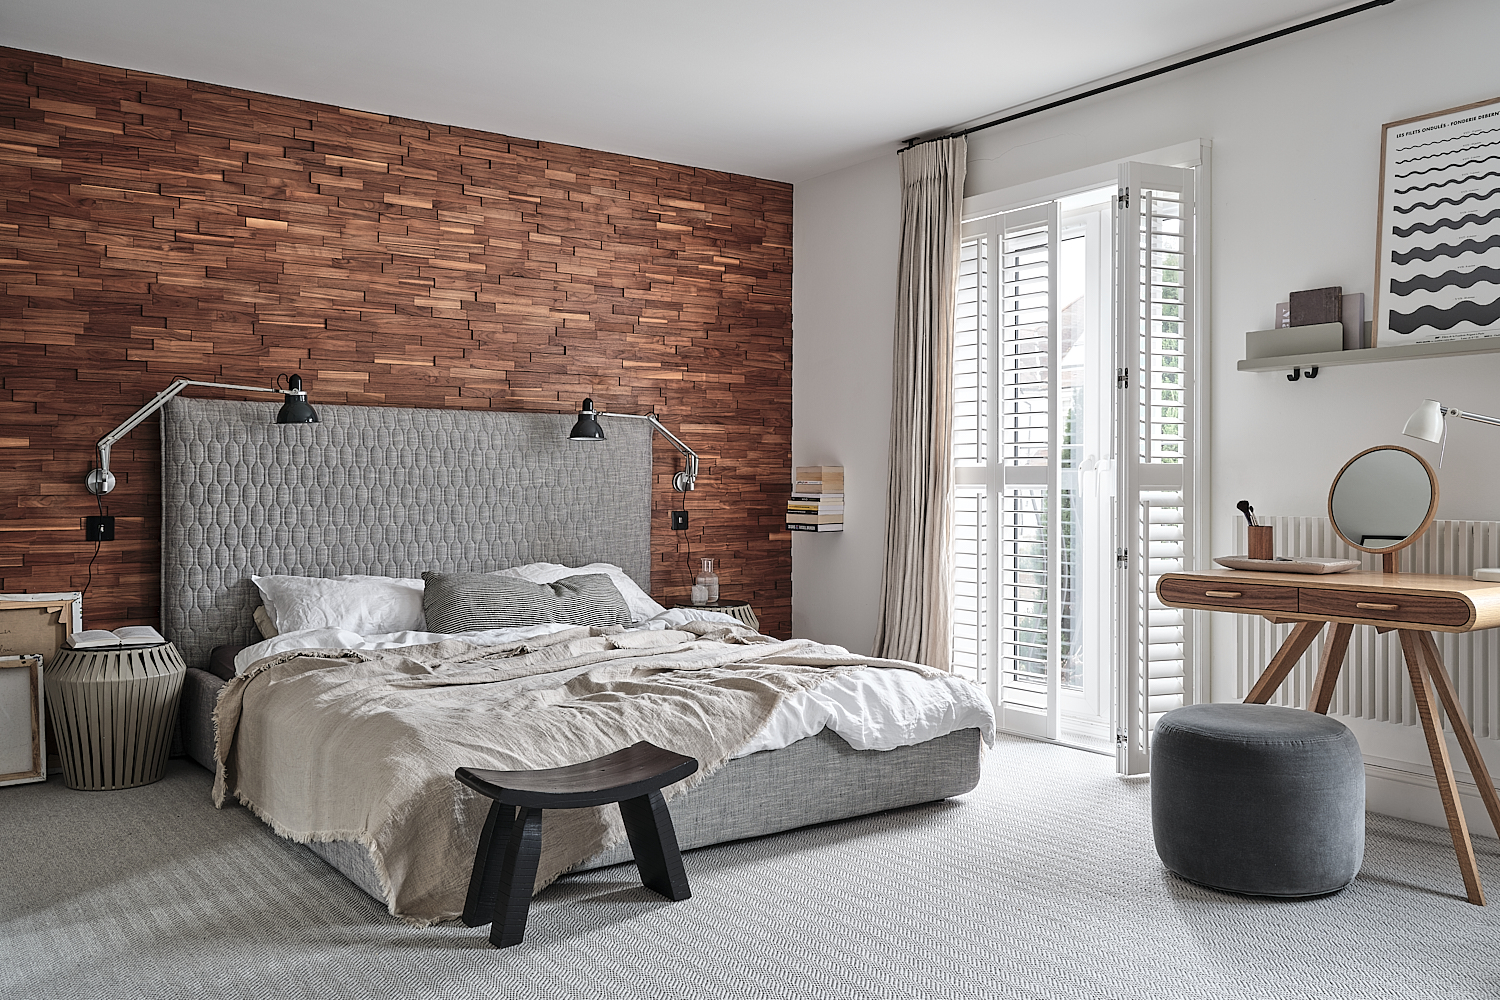

Scandinavian BirchInterior Design
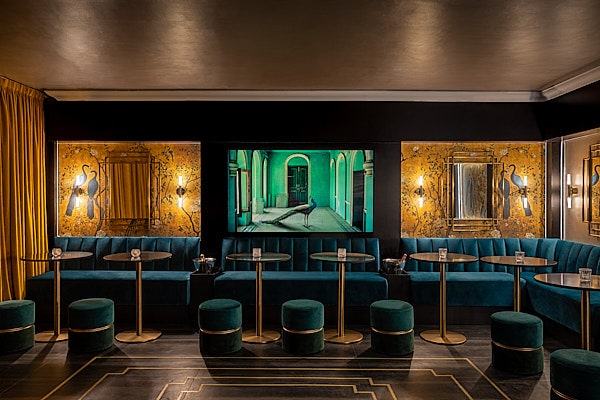

Luna BarInterior Design
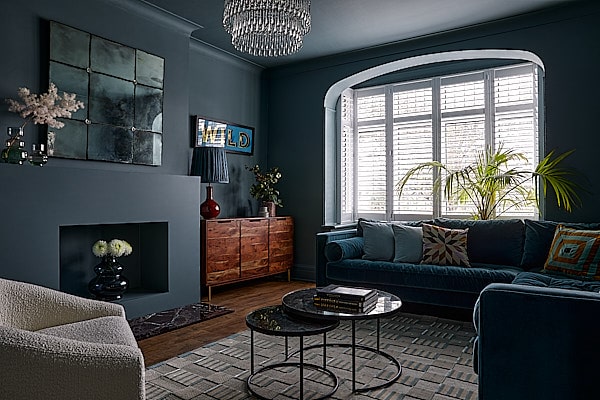

Whetstone ProjectInterior Design
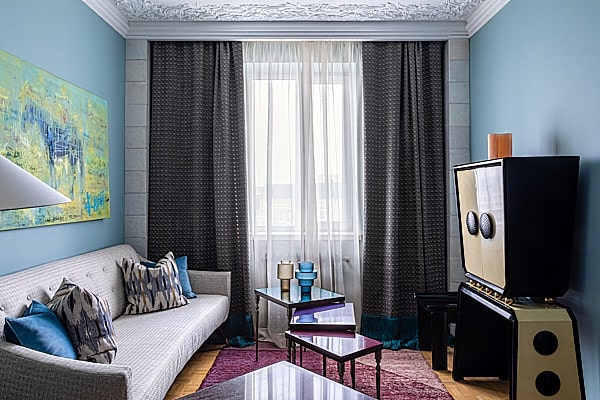

600 sq feet Eclectic FlatInterior Design
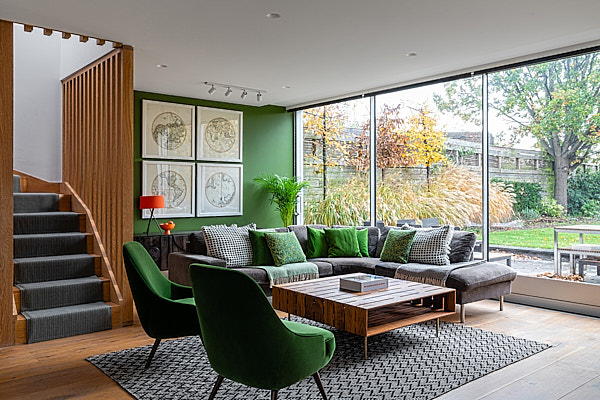

BlackheathInterior Design
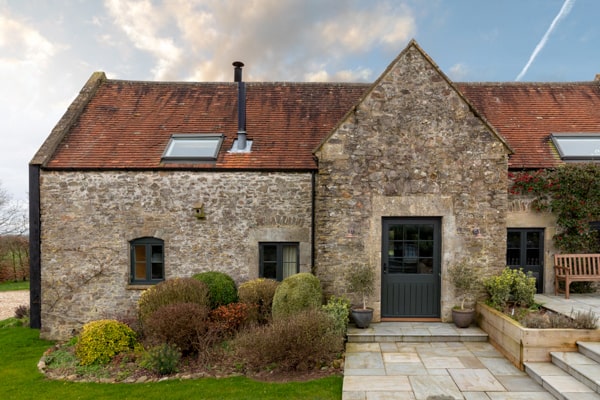

Barn Conversion in SomersetInterior Design
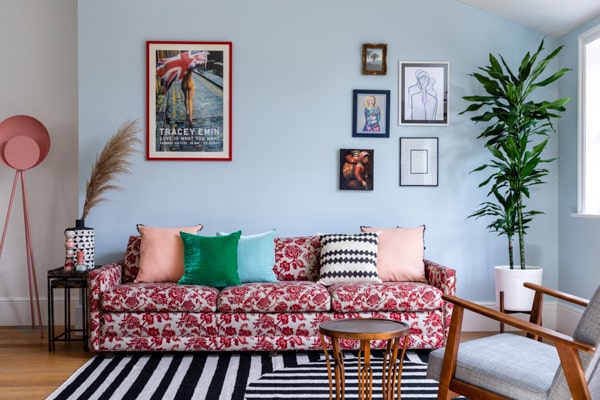

Colourful Project in HarpendenInterior Design
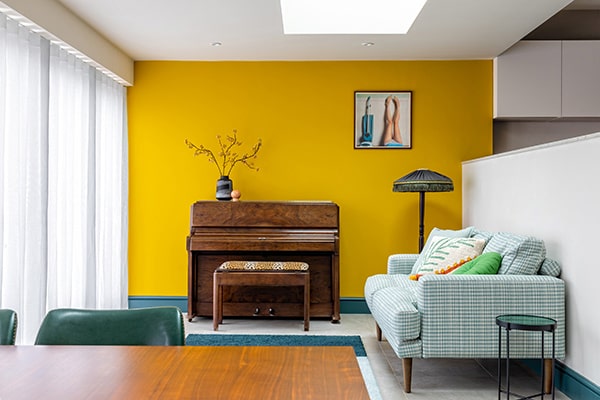

Woodside ProjectInterior Design
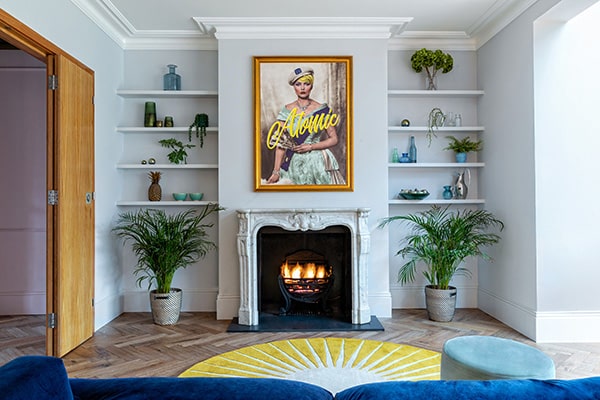

Victorian HouseInterior Design
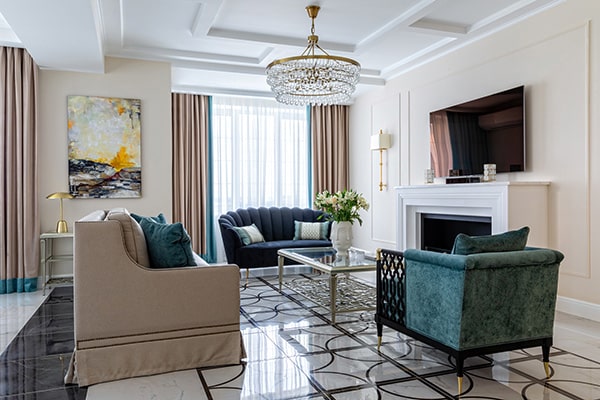

Spacious FlatInterior Design
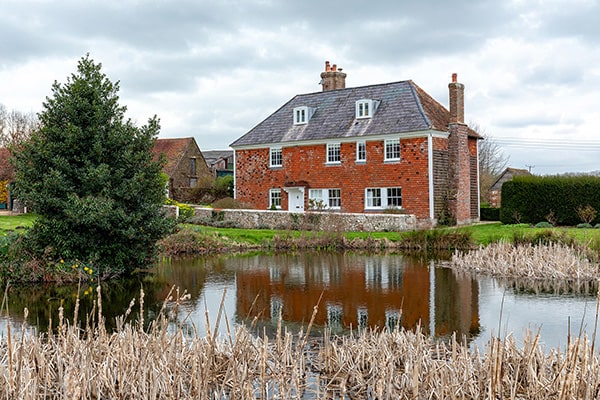

Jamie’s FarmInterior Design
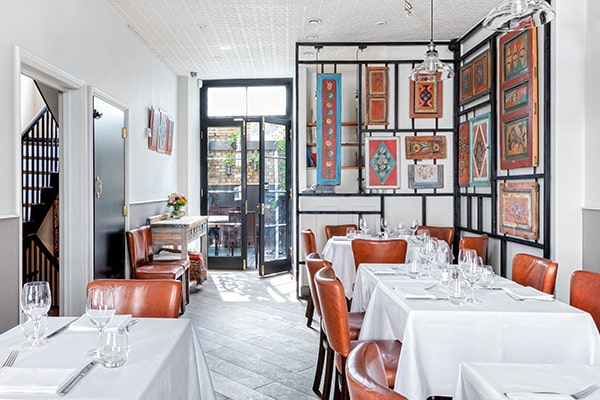

Zima, Restaurant in SohoCommercial
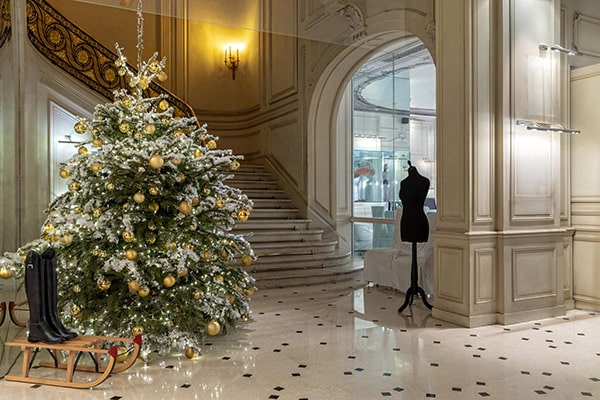

Christmas at La Maison, ParisCommercial
©Anna Yanovski, mail@annayanovski.com